Several projects in the works, several projects making progress but for some of them progress is the most positive thing I can report!
Not to worry friends and neighbors! Reinforcements have arrived and more are on the way! Lisa's sister is her for a few days before the family reunion...
and then there are these guys...
I know, I know the composition is bad and the background is busy... I'll Photoshop it later! These are Jelly Babies (shrieks from at least two people "they do exist!"). This batch arrived early this month and have been helping out on some of my projects (with a really high casualty rate, especially among the red, green and orange flavors...).
We didn't get the project I'd hoped to do in this post done. There were rain delays and schedule issues. Both serious items... the project involves fire and cinder blocks and the Jellies hate unintended steam explosions almost as much as I do... as for the scheduling issues, some times I do need to be there for other people!
I do have the other item I was going to show in this one so that's what we will go on to.
This is a project that you can do with metal and pretty rocks (like some of the ones at the Layne reunion...)
It is a chain main project to make a pendant.
But before we make shiny...
I really had to put that in. My sculpture professor at ISU always accused me of invoking Fleetwood Mac if I put anything chain related in a project, so here we are...
For this project we will use two pairs of pliers (I prefer flat jaws (no teeth) one pair is flat nose and the other chain (needle) nose) and 20 gauge 3/16 inch stainless steel rings.
And yes we have pictures...
The top ring is a representative ring of our group you are going to open one of these so you can slip other rings on it and close ten rings so that they are complete smooth circles. Now, put your ten rings on the one ring and close it. This results in what you see in the bottom set.
Next
Each of the next eight rows has 15 rings, so go ahead and open 120 rings... For the first row we will be working in twos and ones. Slip one open ring through two of the rings on the previous row (the ten rings on the one ring) and close it. Slip another open ring through one of the two rings that we connected the first ring of this row to and the ring next to it (so the first two rings of this row are connected to three rings on the ten ring row). The rings are going to start forming an overlapping pattern. Next slip an open ring through just the one last ring in the ten row that you attached one to (so it overlaps with the other two on this row). This is somewhat like adding a stitch in knitting and easier to explain with pictures I don't happen to have on hand :(. Repeat these three rings four more times to complete the row. The second set in this picture is with four rows done... rows 2-8 are easier just connect the first ring to two rings on the previous row, then insert the next ring overlapping the first (connecting to one of the same rings and the unconnected one next to it).
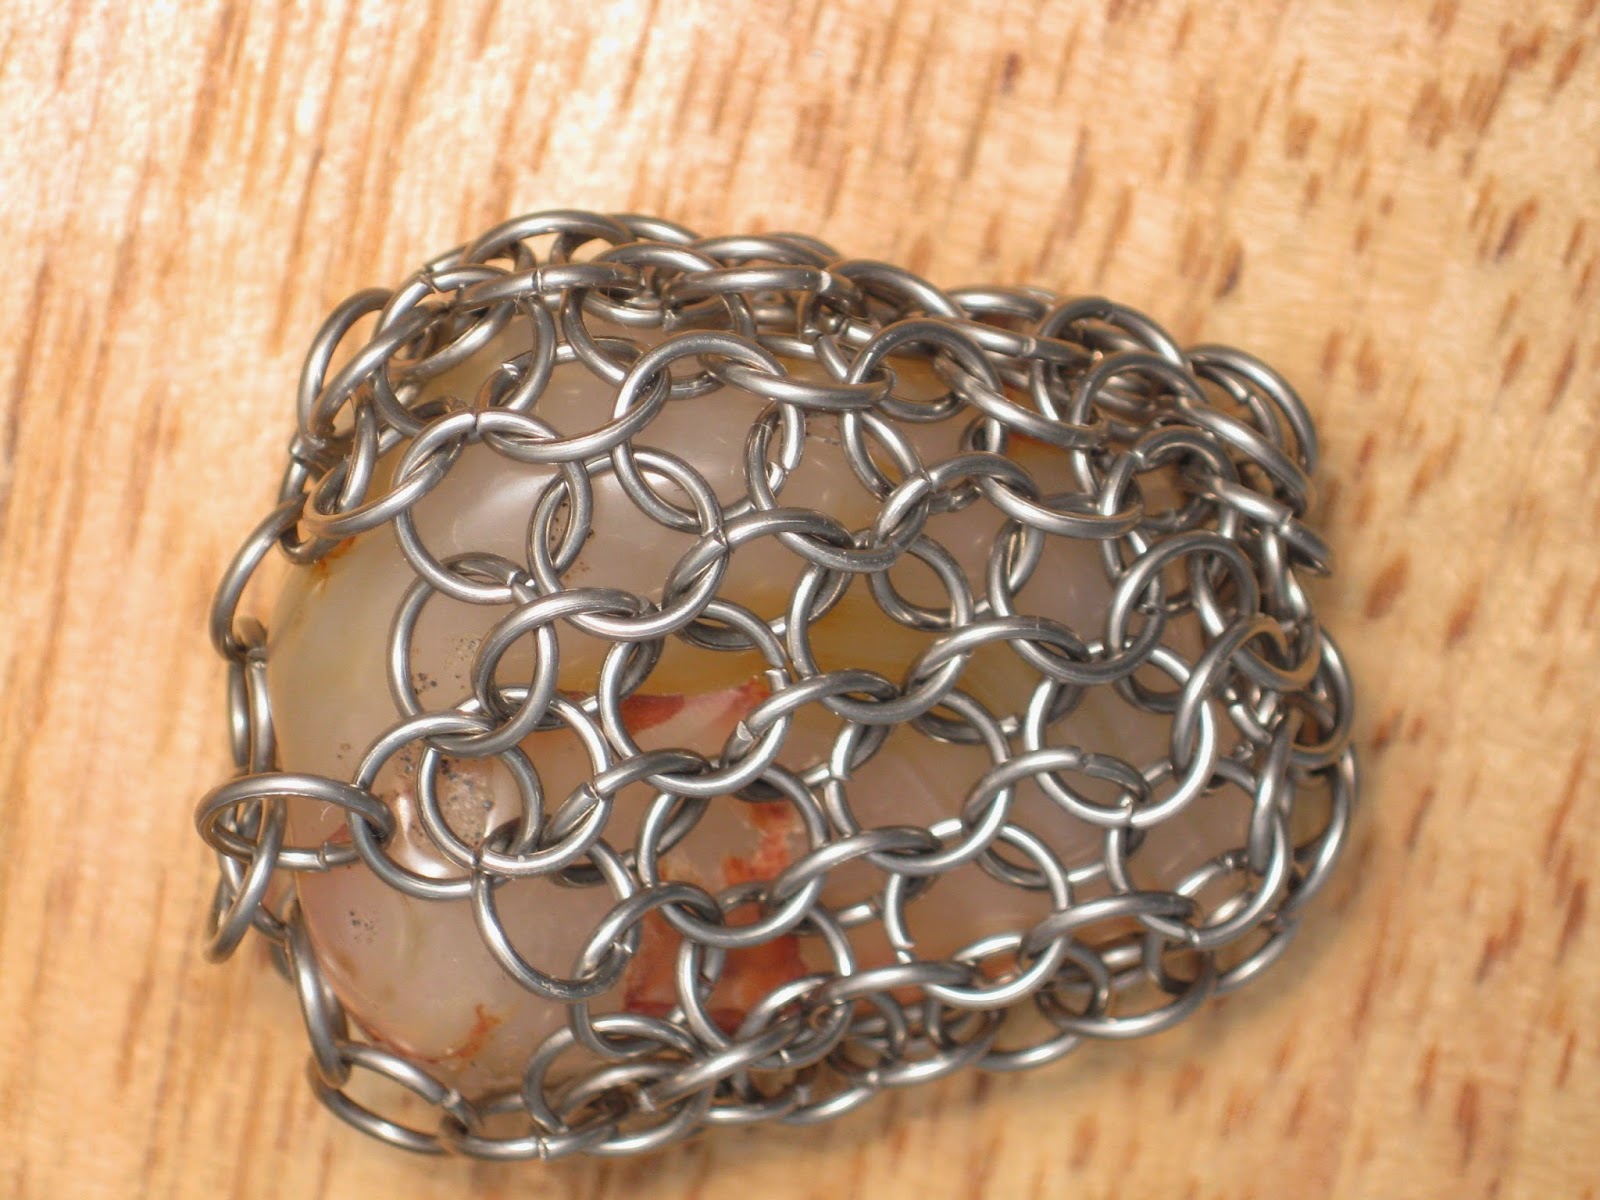
The set on the left in this picture has its eight rows attached. We insert a pretty rock and close up the top. This will vary a little bit depending on the size and shape of your stone. But generally the next row is five rings. Each ring is connected to three on the previous row (connect one to the first three, one to the second three, etc.). For the next row just run one ring through each of the five by it's self. Connect those rings (all five) with one last ring that should lock in the stone.
And you get...
A stone and chain mail pendant that you can string on a cord or necklace. I recommend stainless steel or sterling silver both for strength and cleanliness. You could use some aluminum alloys, but some of them (and bronze and brass...) tend to oxidize in ways that can leave stains on cloths or skin. You could use enameled copper but copper is pretty soft and you might have to step up the wire gauge to compensate (and get to see less of your stone).
Well, assuming I survive the reunion see you next week!


No comments:
Post a Comment